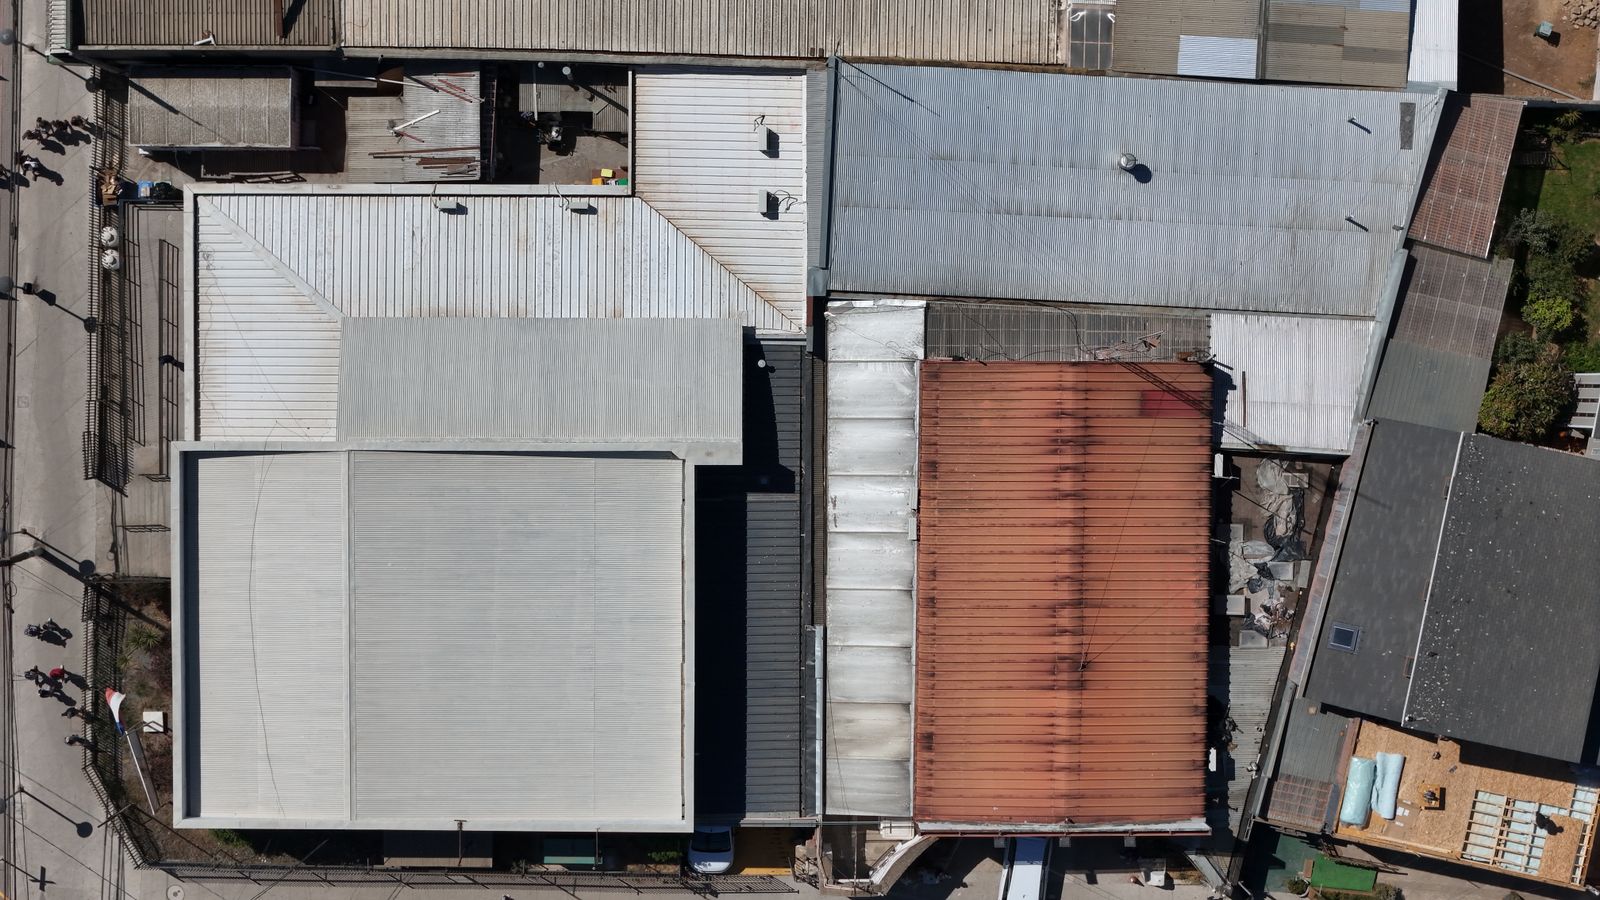
Most commercial roof damage from Gulf storms does not start in the middle of the roof. It starts at the edges, at clogged drains and at loose rooftop equipment. The good news is that the majority of those failure points can be checked and corrected in a single spring visit. Here is the checklist our service technicians use before hurricane season opens on June 1.
Before the season
- Clear every drain, scupper and gutter, and confirm strainers are in place
- Check edge metal and coping for loose cleats, missing fasteners and lifted laps
- Probe perimeter and corner seams, where uplift pressure is highest
- Confirm rooftop units are strapped or anchored to their curbs
- Secure or remove loose items: old equipment, pallets, spare materials
- Inspect skylights and hatches for cracked domes and failed latches
- Photograph the whole roof so you have a pre-storm baseline
- Confirm your emergency contact list and roof access instructions are current
That photo baseline is more valuable than most owners realize. After a storm, an adjuster will ask what was pre-existing. Dated photos from May answer that question in seconds.
Know your drainage math
Tropical systems can drop several inches of rain per hour. If primary drains are partly clogged, water ponds and adds weight quickly: every inch of water adds roughly 5 pounds per square foot. Secondary overflow drains and scuppers exist for exactly this situation, so make sure they are clear and not capped by a previous contractor.
During the watch
When a named storm is forecast to affect the Houston area, avoid sending staff onto the roof once winds pick up. Instead, confirm that interior contents under known problem areas are protected, that emergency numbers are posted, and that your roofing contractor has your site on its priority list. Agreement customers with us are pre-assigned to crews before the storm arrives.
The first 48 hours after the storm
- Walk the interior first and photograph any water entry with time stamps
- Do not send untrained staff onto a damaged roof
- Call your roofer for an emergency dry-in and damage assessment
- Notify your insurance carrier according to your policy terms
- Keep receipts for emergency repairs and interior mitigation
- Avoid signing assignment-of-benefits contracts under pressure
Emergency dry-in is about stopping additional damage. Temporary membrane, tarps and sealant buy time while the permanent scope is documented and approved. Most policies expect owners to take reasonable steps to prevent further damage, so do not wait on the adjuster to start mitigation.
Document like an adjuster is reading it
A strong damage file includes drone or roof photos with dates, a marked roof plan, core samples where insulation may be wet, and a list of collateral damage to rooftop units, skylights and sheet metal. We format our storm reports so they can be handed directly to an adjuster or public adjuster. This article is general information, not legal or insurance advice, so review your own policy terms.
Make it a habit
A spring visit and a post-storm walk cost a fraction of a single interior water claim. If you manage several buildings, put them on one maintenance schedule so every roof gets checked before June and after every named storm.
This article is general information for commercial property owners and is not legal, insurance or tax advice. Ironclad Commercial Roofing is a demo company and every figure above is sample content.